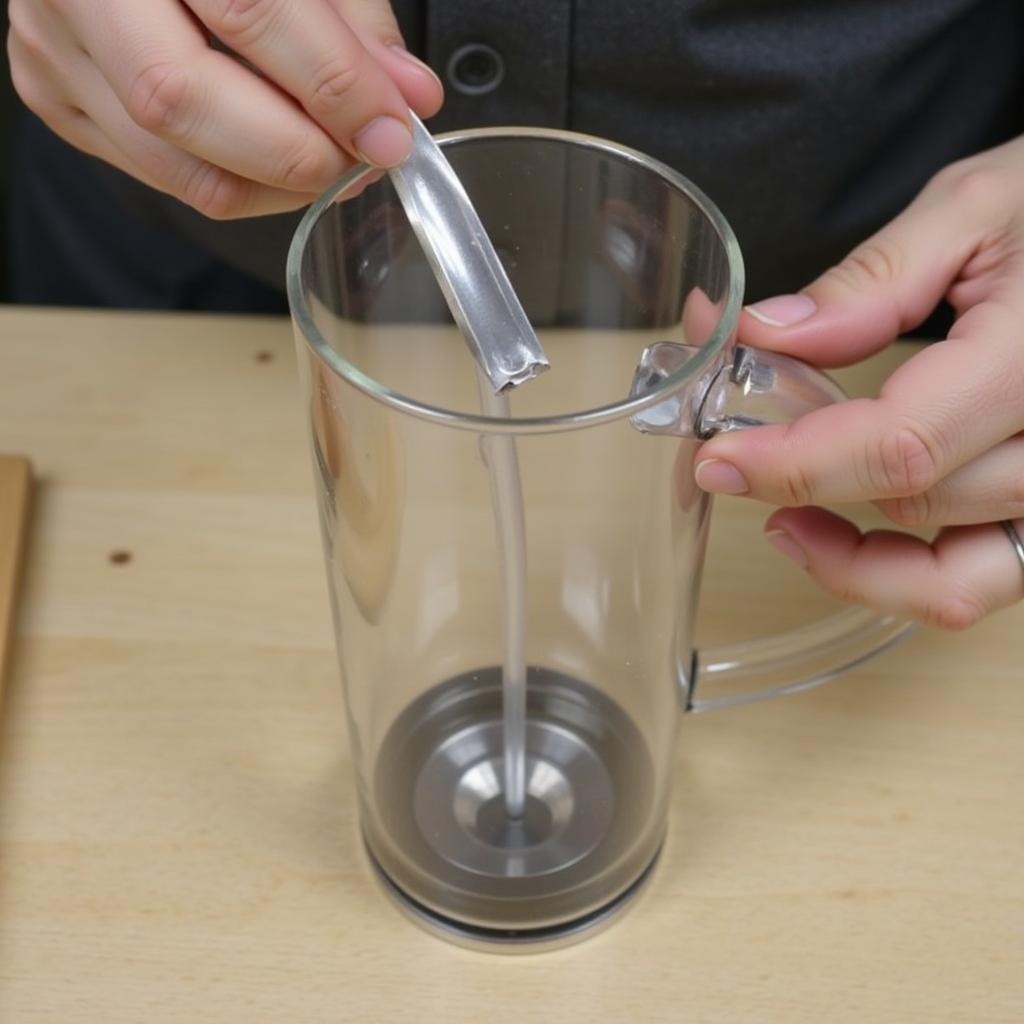
Creating a realistic cup in 3DS Max is easier than you think. This guide provides a step-by-step approach to modeling a cup, from basic shapes to adding details and materials, enabling you to master the art of 3D cup creation in 3DS Max.
Starting with Simple Shapes: The Foundation of Your Cup
Begin by creating a cylinder in 3DS Max. This will serve as the main body of your cup. Adjust the height and radius to match your desired cup dimensions. Remember, accuracy at this stage is crucial for a realistic final product. Think about the type of cup you want – a tall coffee mug, a short teacup, or a wide tumbler. Each will require different initial dimensions.
Next, create a tube. This will be the inner part of your cup, representing the hollow space where the liquid goes. Make the tube slightly smaller than the cylinder so it fits comfortably inside. Align the tube centrally within the cylinder.
Refining the Shape: Adding Details and Realism
Now, it’s time to refine the shape. Use the “Edit Poly” modifier to add more vertices and edges. This allows you to manipulate the shape with greater precision. You can create the curve of the cup’s lip, add a base, or even create intricate details like handles.
Creating the Handle (Optional)
If your cup design includes a handle, create a separate spline object and use the “Lathe” modifier to revolve it around an axis, forming the handle shape. Attach the handle to the cup body and refine the connection points for a seamless integration.
Applying Materials: Bringing Your Cup to Life
Once you’re satisfied with the shape, apply materials to give your cup a realistic look. 3DS Max offers a wide range of materials, from simple colors to complex textures. Experiment with different materials to achieve the desired effect. Consider the material of your cup – ceramic, glass, metal – and choose a corresponding material in 3DS Max. Adjust parameters like reflectivity, glossiness, and color to match your vision.
Final Touches: Lighting and Rendering
Finally, set up your lighting and render your cup. Proper lighting is crucial for showcasing the details and materials of your cup. Experiment with different lighting setups to find the best look.
In conclusion, creating a cup in 3DS Max involves combining basic shapes, refining them with editing tools, and applying realistic materials. By following these steps, you can create a convincing 3D cup model. Remember practice makes perfect! Keep experimenting with different shapes, details, and materials to expand your 3D modeling skills. how to make a cup in 3ds max becomes easier with practice.
FAQ:
- What is the best way to create a smooth curve for the cup’s lip?
- How do I attach the handle seamlessly to the cup body?
- Which materials are best for creating realistic glass or ceramic cups?
- How can I improve the lighting for my rendered cup image?
- What are some common troubleshooting tips for 3DS Max modeling?
- Where can I find more tutorials on 3DS Max?
- How do I create different types of cups, like mugs or teacups?
Mô tả các tình huống thường gặp câu hỏi:
Người dùng thường gặp khó khăn trong việc tạo đường cong mượt mà cho miệng cốc, gắn quai cốc liền mạch và lựa chọn vật liệu phù hợp.
Gợi ý các câu hỏi khác, bài viết khác có trong web:
- Cách tạo các vật dụng khác trong 3DS Max
- Hướng dẫn sử dụng các modifier trong 3DS Max
Kêu gọi hành động: Khi cần hỗ trợ hãy liên hệ Số Điện Thoại: 0372999996, Email: bong.da@gmail.com Hoặc đến địa chỉ: 236 Cầu Giấy, Hà Nội. Chúng tôi có đội ngũ chăm sóc khách hàng 24/7.

